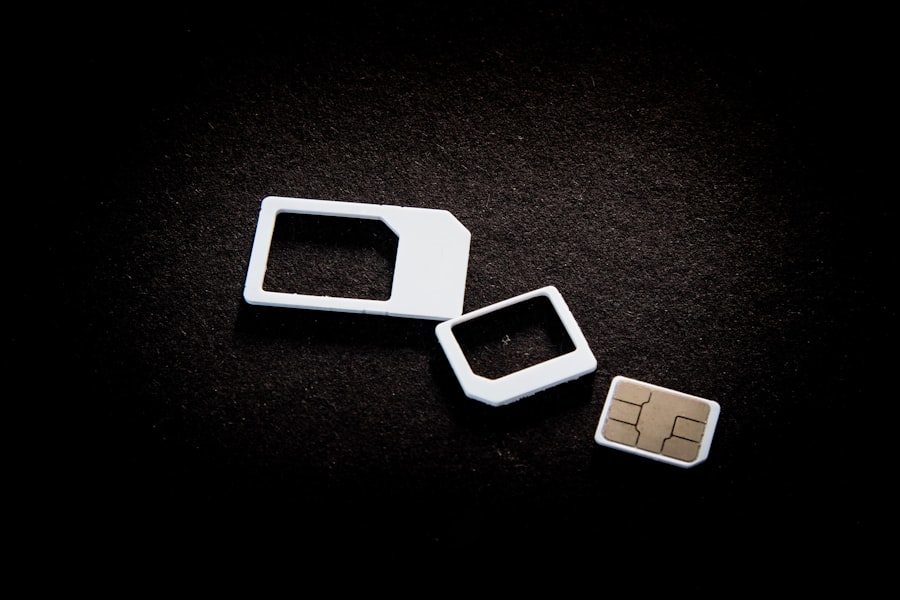
This guide explains how to install eSIM on compatible devices and activate it step by step, even if you’ve never used eSIM before. Before you embark on the journey of eSIM installation, it’s crucial to grasp what an eSIM truly is. Think of it as a digital SIM card. Instead of a physical chip you insert into your phone, the eSIM is embedded directly into your device’s hardware. It operates like a software key, allowing you to activate a cellular plan without needing a tangible card.
This embedded nature brings numerous advantages. You can store multiple eSIM profiles on a single device, effortlessly switching between them. This flexibility is a game-changer for travelers or anyone managing separate personal and business lines. For travelers seeking seamless connectivity, the best eSIM for USA offers convenience and reliable service.
If you’re looking to deepen your understanding of eSIM technology and its benefits, you might find the article on “What is eSIM?” particularly informative. This resource provides a comprehensive overview of eSIM functionality, advantages over traditional SIM cards, and its role in modern mobile connectivity. To read more, visit What is eSIM?.
Prerequisites to Install eSIM on Your Phone
Before you can ignite your digital SIM, certain foundational elements must be in place. Consider these your launchpad for a smooth installation. Without them, your activation will be grounded.
Compatible Device
Your device is the vessel for your eSIM. Not all smartphones or tablets are equipped for eSIM technology. Verify your device’s compatibility before proceeding.
Most newer flagship devices from Apple, Samsung, Google, and other major manufacturers support eSIM. You can often find this information in your device’s specifications or by performing a quick online search for your specific model.
Active Internet Connection
Installing an eSIM involves downloading a profile to your device. This process requires a stable internet connection, typically Wi-Fi.
Ensure you have access to a reliable Wi-Fi network before you begin. Attempting to activate an eSIM with a weak or intermittent connection can lead to errors.
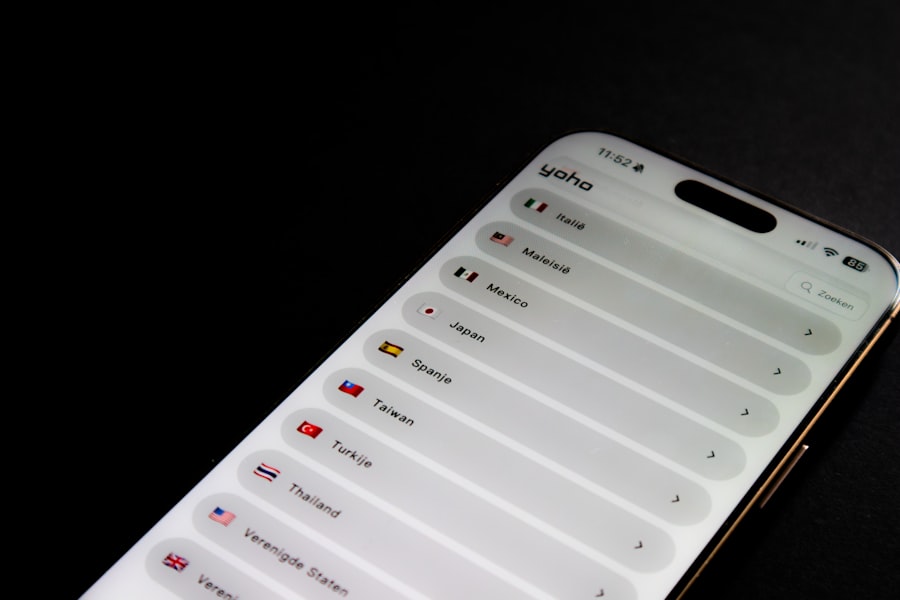
eSIM Provider and Plan
An eSIM is merely hardware; it needs a service plan to function. You’ll need to select an eSIM provider and purchase a plan.
Many mobile network operators (MNOs) and mobile virtual network operators (MVNOs) now offer eSIM services. Research different providers to find a plan that suits your data, call, and text needs.
Types of eSIM Providers
| Provider Type | Description | Ideal For |
||||
| Local MNOs | Traditional carriers in a specific country. | Long-term use in one region. |
| Global MVNOs | Providers offering international eSIMs. | Frequent international travelers. |
| Specialized eSIM Apps | Platforms aggregating various eSIM plans. | Comparing options and flexible short-term use. |
Obtaining Your eSIM Profile
Once you’ve confirmed your prerequisites, the next step is acquiring your eSIM profile. This profile is the digital blueprint of your cellular plan, waiting to be imprinted onto your device.
QR Code Activation
The most common and straightforward method is activation via a QR code. Your eSIM provider will typically furnish you with this QR code after you purchase a plan.
Think of the QR code as a digital key. Your phone scans this key, which then unlocks and downloads your eSIM profile.
Manual Entry
In some scenarios, you might receive a manual activation code instead of a QR code. This is less common but still viable.
This code consists of several pieces of information: the SM-DP+ Address (Subscription Manager Data Preparation) and an activation code. You’ll input these details directly into your device.
Provider App Integration
Some eSIM providers offer their own applications that streamline the activation process. These apps often guide you through the setup, sometimes even generating the eSIM profile directly within the app.
This method can be particularly user-friendly, as it centralizes the entire process within a single interface.
Step-by-Step Installation Process (iOS)
If you’re an iPhone user, the installation process is intuitive. Apple has integrated eSIM management seamlessly into iOS, making it a relatively simple task.
Navigating to Cellular Settings
Begin by opening the ‘Settings’ app on your iPhone. This is your control center for all device configurations.
Scroll down and tap on ‘Cellular’ or ‘Mobile Data’. This section manages all aspects of your cellular connectivity.
Adding a New Cellular Plan
Within the ‘Cellular’ menu, you’ll find an option to ‘Add Cellular Plan’ or ‘Add eSIM’. Tap on this.
Your iPhone will then prepare to receive the new plan. This is where your chosen activation method comes into play.
Scanning the QR Code
If you have a QR code, your iPhone will activate its camera. Position your phone to scan the QR code provided by your eSIM provider.
Ensure good lighting and hold your phone steady for a quick and accurate scan. The device will then automatically detect the eSIM information.
Entering Details Manually
If you need to enter details manually, select the option for ‘Enter Details Manually’. You will then be prompted to input the SM-DP+ Address and the Activation Code that your provider supplied.
Accuracy is paramount here. Double-check each character before proceeding.
Activating the eSIM
Once the information is received (either via QR code or manual entry), your iPhone will begin the activation process. This might take a few moments as your device communicates with the network.
Follow any on-screen prompts, which may include labeling your cellular plans if you plan to use multiple.
If you’re looking to enhance your mobile connectivity while traveling, you might find it helpful to read a related article on the benefits of using an eSIM for international travel. This informative piece discusses how eSIM technology can simplify your mobile experience abroad and help you avoid expensive roaming charges. To learn more about this topic, check out the article on Travel Sim Lab.
Step-by-Step Installation Process (Android)
<?xml encoding=”UTF-8″>
| Step | Action | Details | Estimated Time | Notes |
|---|---|---|---|---|
| 1 | Check Device Compatibility | Verify if your smartphone or device supports eSIM functionality. | 2 minutes | Refer to device manual or manufacturer website. |
| 2 | Obtain eSIM QR Code or Activation Code | Contact your carrier to get the eSIM QR code or activation details. | Varies (minutes to hours) | Some carriers provide codes via email or app. |
| 3 | Open Device Settings | Navigate to Mobile Network or Cellular settings on your device. | 1 minute | Settings location varies by device OS. |
| 4 | Add Cellular Plan | Select option to add a new cellular plan or eSIM. | 1 minute | May be labeled as “Add eSIM” or “Add Cellular Plan”. |
| 5 | Scan QR Code or Enter Activation Code | Use device camera to scan QR code or manually enter code. | 2 minutes | Ensure good lighting for QR code scanning. |
| 6 | Confirm and Activate Plan | Follow on-screen prompts to confirm and activate the eSIM plan. | 1-2 minutes | Device may restart or refresh network settings. |
| 7 | Test Connectivity | Make a call or use data to verify eSIM is active. | 2 minutes | Check signal strength and data connection. |
Android devices also offer a straightforward eSIM installation. The exact menu names might vary slightly depending on your device manufacturer and Android version, but the underlying principles remain consistent.
Accessing Network Settings
Open the ‘Settings’ app on your Android device. This is the gateway to all system configurations.
Navigate to ‘Network & internet’ or ‘Connections’. This section is dedicated to managing your device’s connectivity options.
Managing SIMs and Adding eSIM
Within the network settings, look for ‘SIMs’ or ‘SIM card manager’. Tap on this to manage your active and inactive SIMs.
You should find an option to ‘Add eSIM’ or ‘Download a SIM’. Select this to initiate the eSIM installation.
Scanning the QR Code (Android)
Similar to iOS, your Android device will activate its camera to scan a QR code. Position the QR code clearly in the camera’s frame.
The device will interpret the code and begin downloading the eSIM profile. Ensure a stable internet connection during this crucial step.
Manual Entry (Android)
If a QR code is not available, select the option to ‘Enter activation code manually’ or similar. You will then input the SM-DP+ Address and the Activation Code provided by your eSIM carrier.
Carefully type in the information to avoid errors that could hinder activation.
Finalizing Activation
After the eSIM profile is downloaded, your Android device will proceed to activate it. You might be asked to select a primary SIM if you have multiple, or to give the eSIM a descriptive name.
Once activated, you should see your new cellular plan listed in your network settings.
Managing Your eSIMs
With your eSIM active, the journey doesn’t end there. Understanding how to manage your eSIMs is crucial for maximizing their utility. Think of it as knowing how to navigate your digital toolkit.
Renaming eSIMs
If you have multiple eSIMs, giving them distinct names is incredibly helpful. You might label them ‘Work’, ‘Personal’, ‘Travel-France’, or ‘Data Only’.
This allows you to quickly identify and select the correct plan for the task at hand. Access this option in your device’s cellular settings.
Switching Between eSIMs
One of the greatest advantages of eSIMs is the ability to seamlessly switch between multiple profiles. If you have two plans, for example, your home plan and a travel plan, you can toggle between them with ease.
Navigate to your cellular settings, and you’ll typically see options to select which plan is active for data, calls, and messages.
Deleting eSIMs
When a cellular plan is no longer needed, you can delete its corresponding eSIM profile from your device. This frees up space for new profiles.
Be aware that deleting an eSIM profile usually means losing access to that particular plan. If you intend to reuse it, check with your provider about reactivation options.
Activating Data Roaming
For international travel, ensuring your eSIM is configured for data roaming is essential. Some eSIMs are designed specifically for international use, but others may require you to enable roaming manually.
Check your eSIM provider’s instructions and your device’s cellular settings to confirm roaming is activated if necessary. Ignoring this step can lead to a lack of connectivity abroad.
Troubleshooting Common eSIM Issues
Even with careful execution, sometimes digital rivers encounter dams. If your eSIM isn’t behaving as expected, don’t panic. Many common issues have straightforward solutions.
“No Service” or “Searching”
This indicates your phone isn’t connecting to a cellular network. It’s like a radio searching for a signal but finding none.
Check Network Coverage
Confirm you are in an area with network coverage from your eSIM provider. Weak signal areas can prevent activation or stable connectivity.
Restart Your Device
A simple restart can often resolve temporary software glitches. It’s like turning a computer off and on again when it freezes.
Re-enable Cellular Data
Toggle your cellular data off and then on again in your device settings. This can sometimes force a reconnect to the network.
Verify APN Settings
In rare cases, your Access Point Name (APN) settings might be incorrect. Your eSIM provider can give you the correct APN details, which you can usually find under ‘Cellular Network’ settings.
“eSIM Activation Failed” Error
This means your device couldn’t successfully download or install the eSIM profile.
Strong Internet Connection
Ensure you have a very strong and stable Wi-Fi connection. A weak connection is a common culprit for failed downloads.
Valid QR Code/Manual Details
Double-check that the QR code is unscanned and valid, or that the manual entry details are entirely accurate. A single typo can be a brick wall.
Contact Provider Support
If repeated attempts fail, reach out to your eSIM provider’s customer support. They can verify your account and resend activation details if necessary.
Incorrect Billing or Plan Issues
Sometimes, the eSIM activates, but you encounter problems related to your purchased plan.
Review Plan Details
Log into your eSIM provider’s account or app and thoroughly review the details of your purchased plan. Confirm it matches what you expected.
Contact Provider Support
If there’s a discrepancy, such as an incorrect data allowance or unexpected charges, immediately contact your eSIM provider’s customer service. They are your primary resource for billing inquiries.
Security Considerations with eSIMs
While convenient, eSIMs also bring specific security aspects to consider. Think of them as unique doorways into your phone’s connectivity.
Device Security
Since your eSIM is embedded, the security of your device becomes paramount. If your phone is compromised, your eSIM profiles could also be at risk.
Utilize strong passcodes, biometric authentication (fingerprint, face ID), and keep your device’s operating system updated to the latest version. These are your digital locks.
Provider Security
The security of your eSIM profile also depends on your provider. Ensure you use reputable eSIM providers known for their data security.
Be cautious of unsolicited emails or messages asking for your eSIM details. Phishing attempts can target your cellular identity.
Remote Lock and Wipe
In the unfortunate event your device is lost or stolen, utilize your device’s remote lock and wipe features. This can prevent unauthorized access to your eSIM-based cellular service.
Most modern smartphones offer these capabilities, accessible through your device’s associated cloud service (e.g., Apple ID, Google Account).
The Future of eSIMs
The landscape of mobile connectivity is constantly evolving, and eSIMs are at the forefront of this change. Their influence is only set to expand.
Broader Device Integration
Expect eSIM technology to become even more ubiquitous. Beyond smartphones and tablets, you’ll see eSIMs integrated into more smartwatches, laptops, and a wider range of IoT (Internet of Things) devices.
This will create a more interconnected ecosystem, where devices can share and manage cellular connectivity effortlessly.
Enhanced User Experience
The installation and management processes for eSIMs will likely become even more streamlined and user-friendly. Innovations aimed at simplifying profile transfers and multi-device management are on the horizon.
Imagine a future where provisioning a new device with your existing cellular plan is as simple as scanning a code on your old device.
New Service Models
eSIMs enable more flexible and dynamic service models. Pay-as-you-go data plans, short-term subscriptions for specific locations, and highly customized bundles will become more prevalent.
This empowers consumers with greater choice and control over their mobile connectivity, moving away from restrictive long-term contracts.
By understanding these steps and considerations, you are now well-equipped to navigate the world of eSIMs. Embrace this technology, and unlock a new level of flexibility and convenience in your mobile life.
FAQs
What is an eSIM and how does it differ from a physical SIM card?
An eSIM (embedded SIM) is a digital SIM that is built into your device, allowing you to activate a cellular plan without needing a physical SIM card. Unlike traditional SIM cards, eSIMs can store multiple profiles and can be programmed remotely by your carrier.
Which devices support eSIM technology?
Many modern smartphones, tablets, and smartwatches support eSIM technology. Popular devices include recent models of iPhones (from iPhone XS and later), Google Pixel phones, and some Samsung Galaxy devices. It is important to check your device specifications to confirm eSIM compatibility.
How do I install an eSIM on my device?
To install an eSIM, you typically need to scan a QR code provided by your carrier or enter activation details manually in your device’s settings. The process involves going to the cellular or mobile data settings, selecting the option to add a cellular plan, and following the on-screen instructions.
Do I need an internet connection to activate an eSIM?
Yes, an internet connection is usually required to download and activate the eSIM profile on your device. This can be through Wi-Fi or an existing cellular connection.
Can I use multiple eSIMs on one device?
Many devices that support eSIM allow you to store multiple eSIM profiles, but only one can be active at a time for cellular service. Some devices also support dual SIM functionality, combining one physical SIM and one eSIM simultaneously.